 Happy New Year! It's been almost 2 months since my last blog but I'm ready to get back to gaming! Today's topic: Dungeon Keeper Gold from GOG.com On Valentine's Day, EA paired up with GOG to release Dungeon Keeper for the 14th and 15th. Well, a whole new generation now has a chance to experience it, and since I couldn't find any other articles with a full break down, I'll make my own! So let's dig in.... Modding Dungeon KeeperDungeon Keeper, by Bullfrog, is a game from 1997. If you bought the Gold Edition from GOG, then chances are your version runs on DOSBOX. Dosbox is a universal emulator for old games that can be edited and modified with a simple cmd gui or by editing it's config files. First thing's first, let's start with resolution. Resolution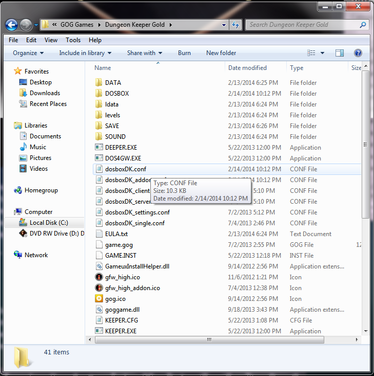 Modifying the resolution is done through the config file found in your computer/gog games/dungeon keeper gold- folder. You will be looking for dosboxDK.conf. Once you've opened with notepad, unfortunately, this config is a garbled mess that is not as clean as other dosbox documents. However, fortunately, a quick use of finder and you can locate all the lines of code you'll need to edit! First, let's start with main resolution- look for these lines: fullscreen=true fulldouble= ----- fullresolution= ----- "FullScreen" Sets the startup of DOSBOX in fullscreen mode "FullDouble" Allows Double Buffering- from my experience, it works great in other dosbox games, but here it's really buggy and causes warped textures- steer clear for now. "FullResolution" Sets the resolution for fullscreen mode- by default, this says original- however you can set it past the original settings by inputting your own resolution here, such as "1920x1080" without the quotations. An interesting thing about resolution is DosBox has multiple API and Graphic displays available under "Launch Graphic Mode Setup" By default, the graphic mode is set to Surface- this shrinks the screen and matches the aspect ratio once you customize the resolution in the config. So, using 1920x1080, for example, you will have the black bars on the side and bottom indicating the image is not being stretched. Personally, I use DDRAW- direct draw maps out the screen, similar to surface, but seems to have better color correction than surface for my gpu (gtx 660). OpenGL, OpenGLnb, Overlay, will follow the same rule, with differing results. OpenGLnb didn't work for me, loading all the way to menu which revealed a black screen. Others may have different results. 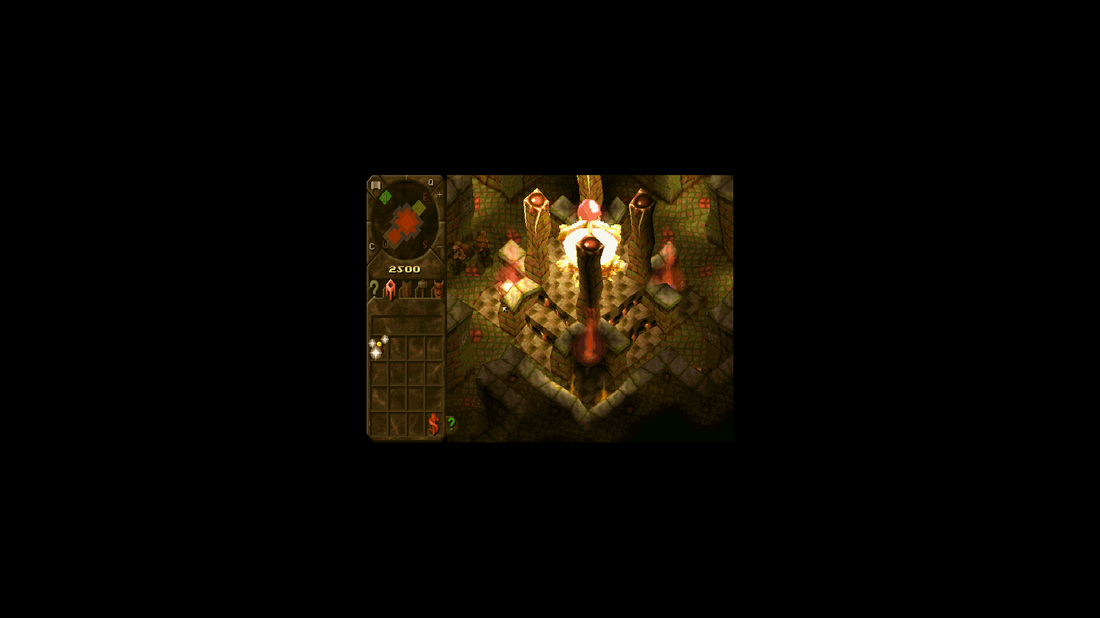 Surface Graphic Mode  DDraw Graphic Mode Processor PerformanceThe last option that sort of ties into performance is Processor Cycles. By default, the processor cycles are set to 80,000. However, this can limit performance if you have a more capable processor. You can choose to raise and lower cycles in game by using ctrl+f11 or ctrl+f12 (up and down respectively). This is simply read as a percentile, but can provide fast adjustments if you want to experiment. Auto changes the cycles to what it believes to be the best performance. Dynamic changes on the fly based on the games needs (on a 2500k, in game it read to max during gameplay and throttled down during menus, saving processor calculations). You can make it max all the time if you want no throttling, but this loads the game way too fast and makes it really hard to choose levels on the map select screen! Hi Res ModeAnother option that can greatly improve your graphics quality is to switch from standard res to "Hi Res" Simply press ALT+R to change resolutions at any time- the settings are saved so you won't have to do this each time! Take a look at the difference below- this is zoomed out at max range" 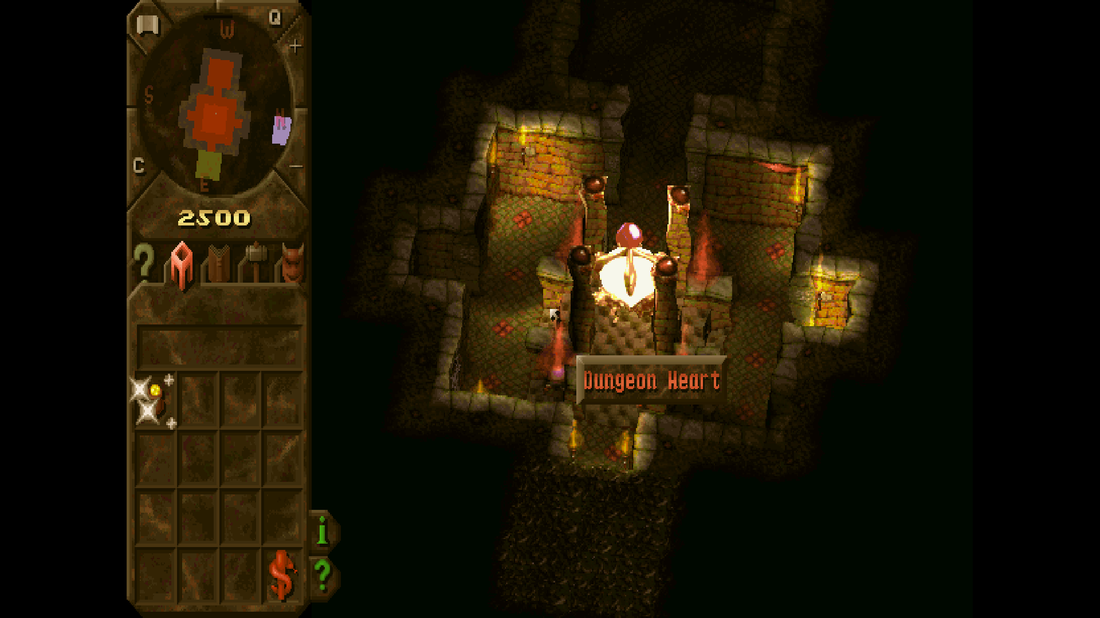 Hi Res mode 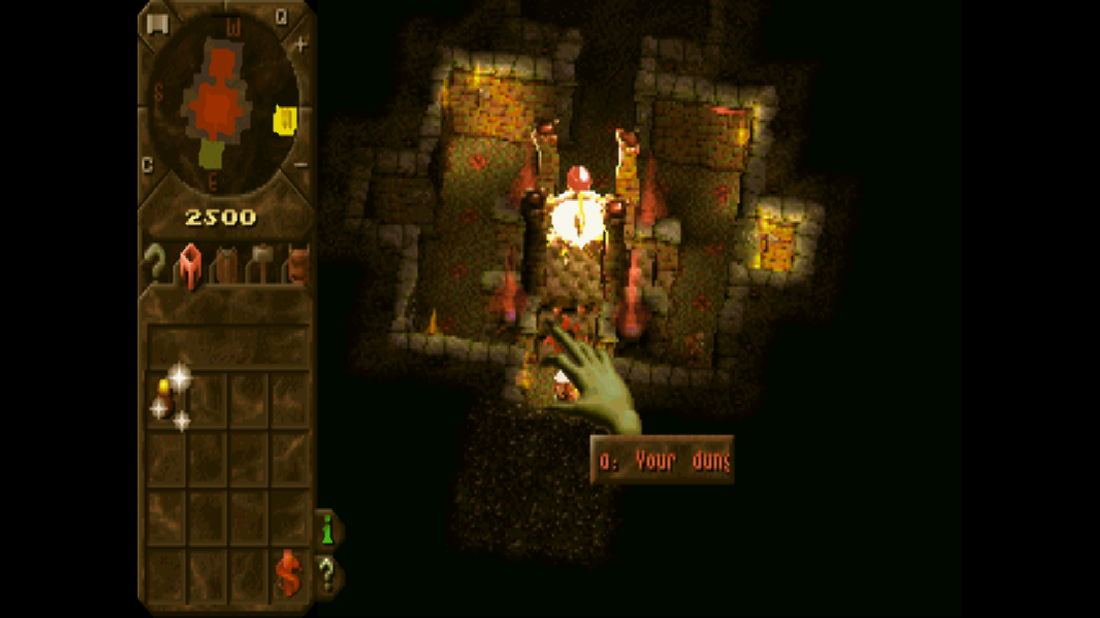 Low Res Mode The difference is clear (ha), and if your cpu can emulate it with no sweat, go this route!
So, there's other options you can always tweak in the config, which does come with written isntructions internally on what each feature does. However, hopefully this quick guide will get you building dungeons quickly and efficiently! I'm loving the game so far (I was a HUGE Sim Theme Park fan!), and it makes me miss Bullfrog all the more. Well, Peter's still out there doing his creative....thing. Anyways, if you missed the game, check out some youtube videos and see if it's what you like! Pro Tip: Home and End keys, by default zoom you out- and the diamond "graphics options" has a fixed perspective overview for those unsatisfied with an isometric play screen.
3 Comments
Preston
6/22/2014 07:46:19 pm
Fantastic walk through on fixing the problem so simple yet on point thanks alot bro 6/29/2014 01:07:49 am
Glad to hear it. It's a fun game once you get all the kinks out of it, enjoy! Leave a Reply. |
Archives
December 2021
|
 RSS Feed
