|
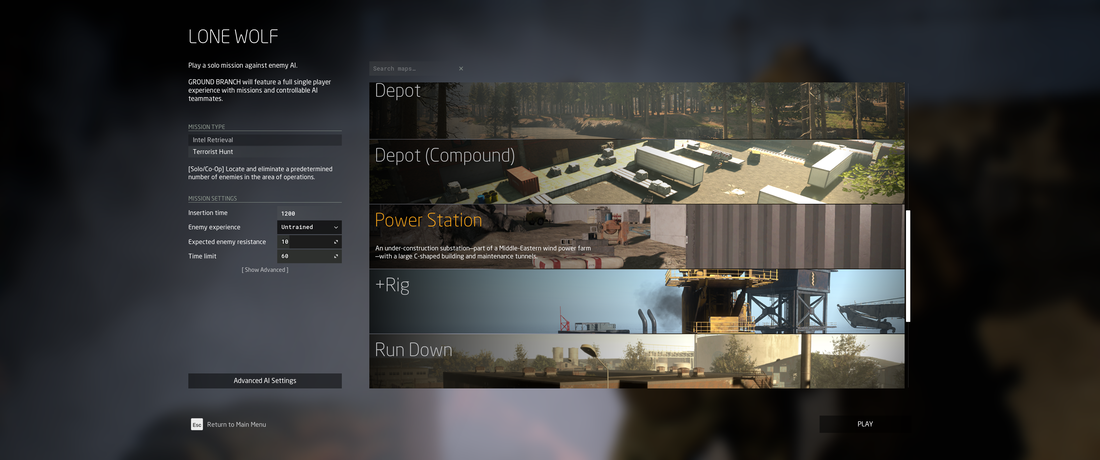
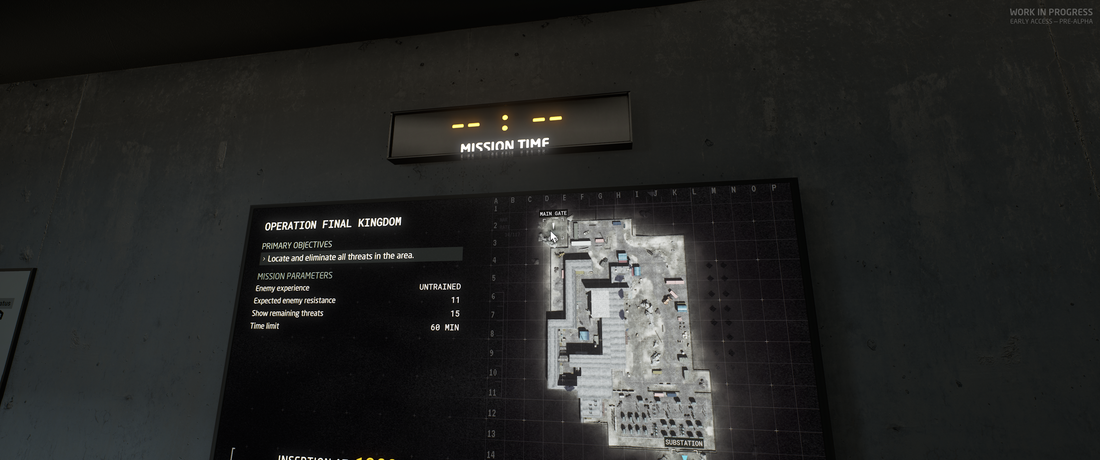
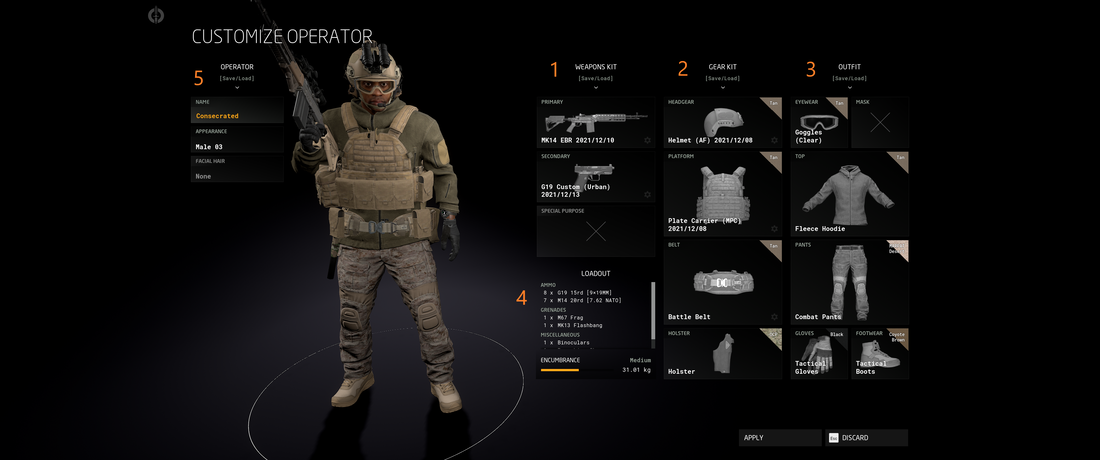
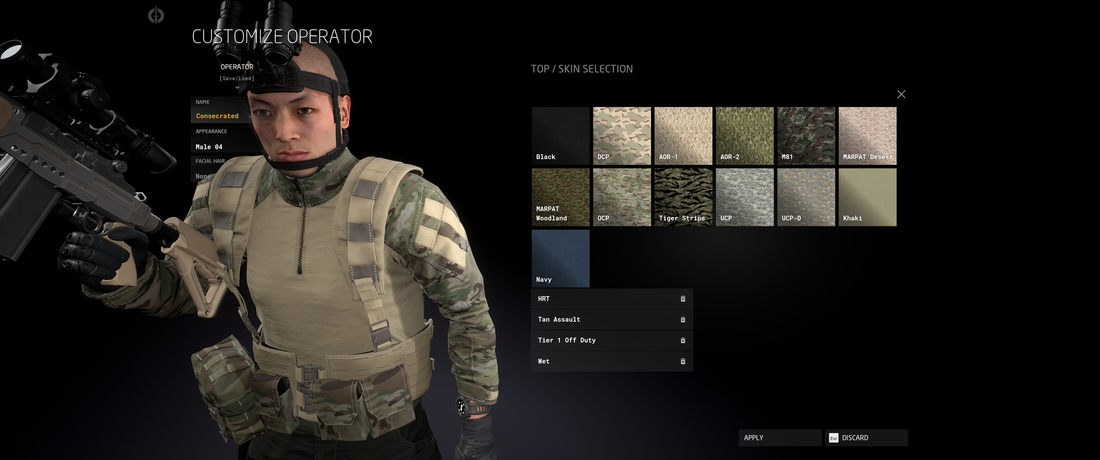
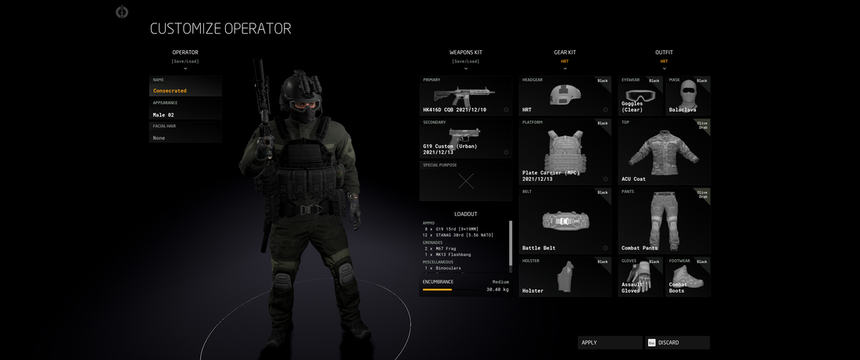
Ground Branch has just released version 1032, the latest edition of the tactical first person shooter from Black Foot Studios. If you're new to the game I hope this guide will assist you in getting your bearings on the various systems, controls, and tactics to be successful in the field. Ground Branch is still in Early-Access and continues to receive updates so while this article is accurate at the time of 1032's release, it may become obsolete down the road. Starting A GameGround Branch currently supports Solo Play, Coop, and PvP options. For Solo you can hit up The Farm under training or go Lone Wolf against the AI. Multiplayer allows you to host or join a dedicated server with servers being configured for PvE coop or PvP matches. For now, we'll look at Lone Wolf. Upon loading Lone Wolf you're greeted with the mission customization screen. Currently Ground Branch offers 2 modes: Intel Retrieval and Terrorist Hunt. Intel Retrieval tasks you with locating a laptop in the field at one of the designated retrieval zones found on the map, picking it up, and extracting at the exfil site marked by a green smoke. In this menu you have several options available to modify the parameters for the operation. Once you have picked a map and set up the operation for your liking, it's time to play! Once you load into the ready room you'll be able to navigate to the BlueFor side (or RedFor if online in PvP). The locker room and gun range allow you to customize and test out your equipment, while the operations room lets you make last minute touches before spawning in. Interacting with a locker will begin customization. This is the meat and potatoes of the experience so let's take a closer look. CustomizING Your OperatorGround Branch lets you customize your operator both in the menu and in the ready room. Let's break down each section of the screen:
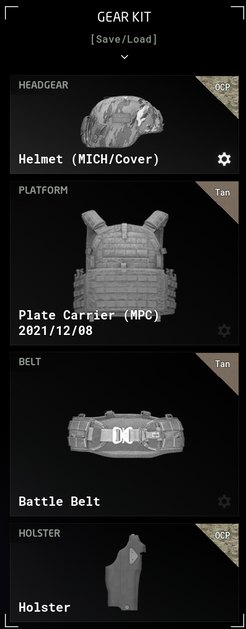
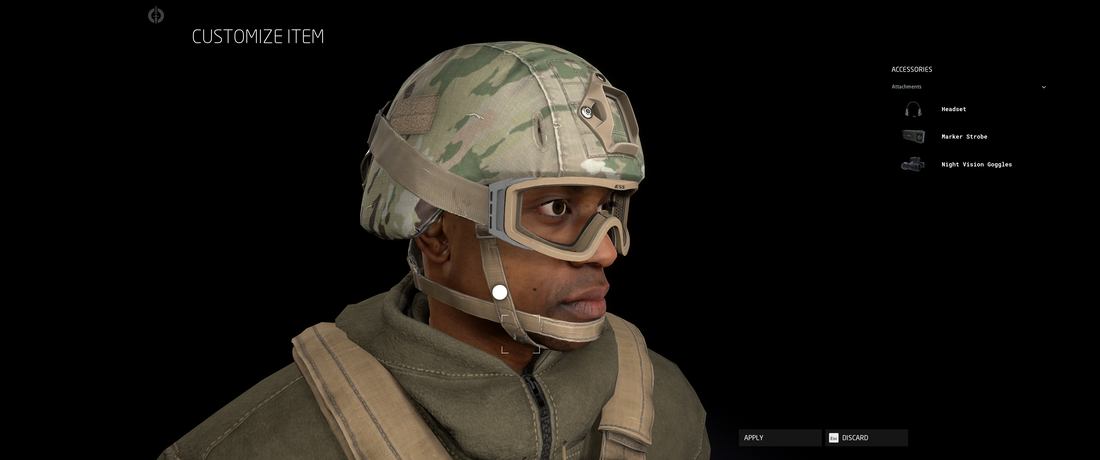
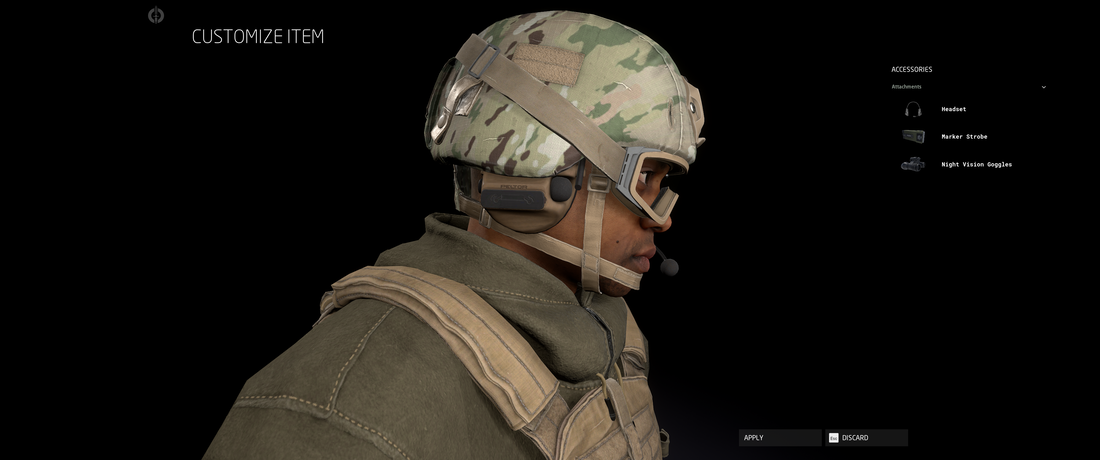
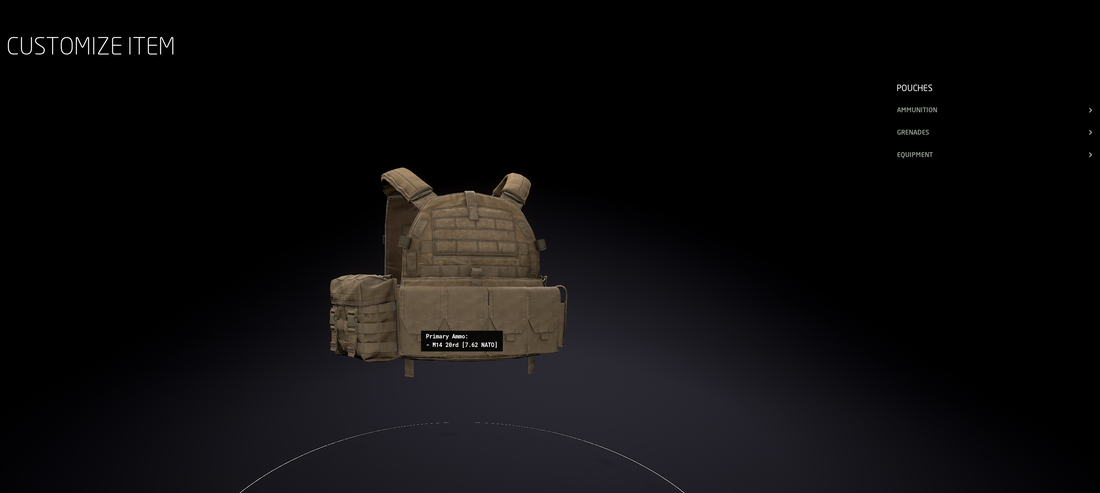
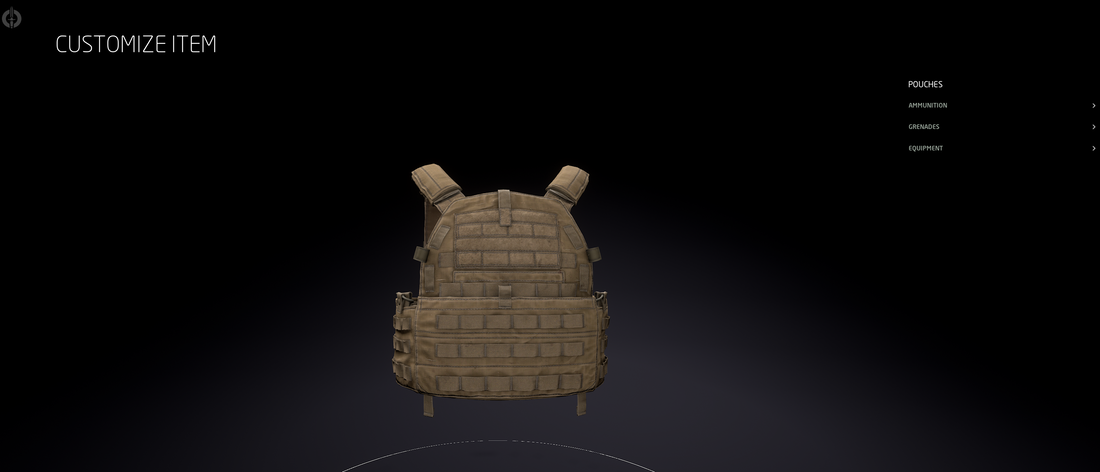
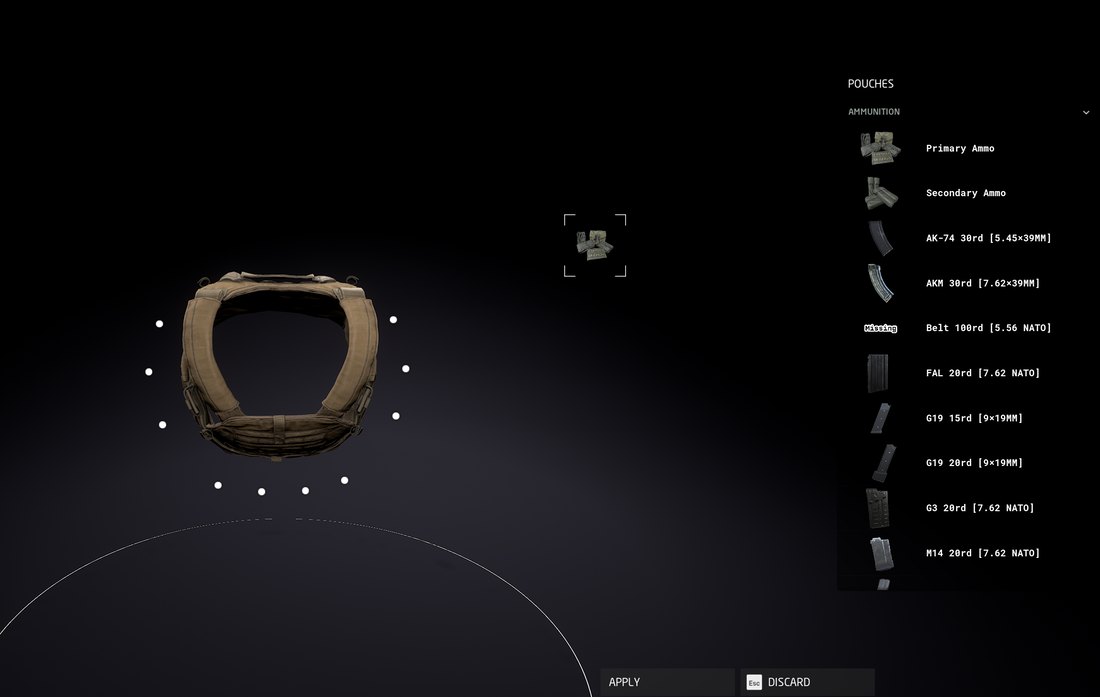
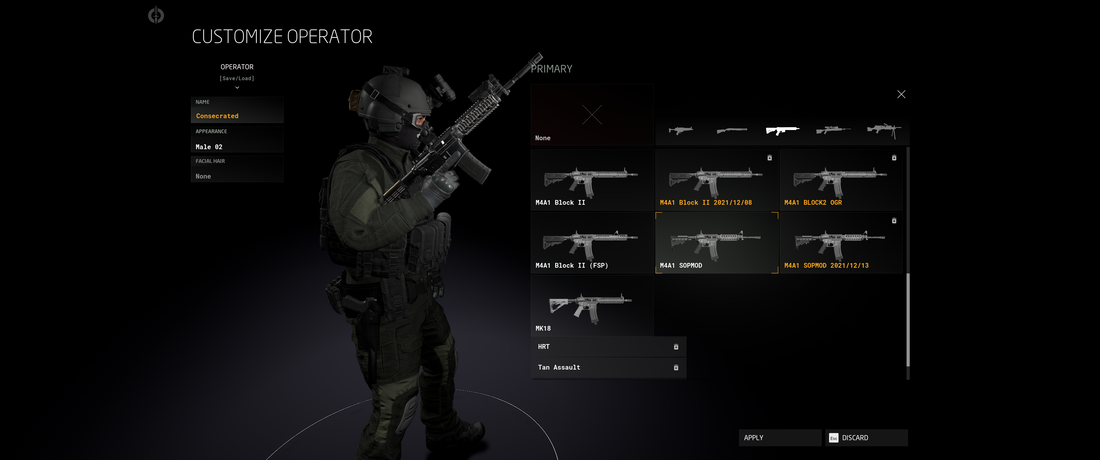
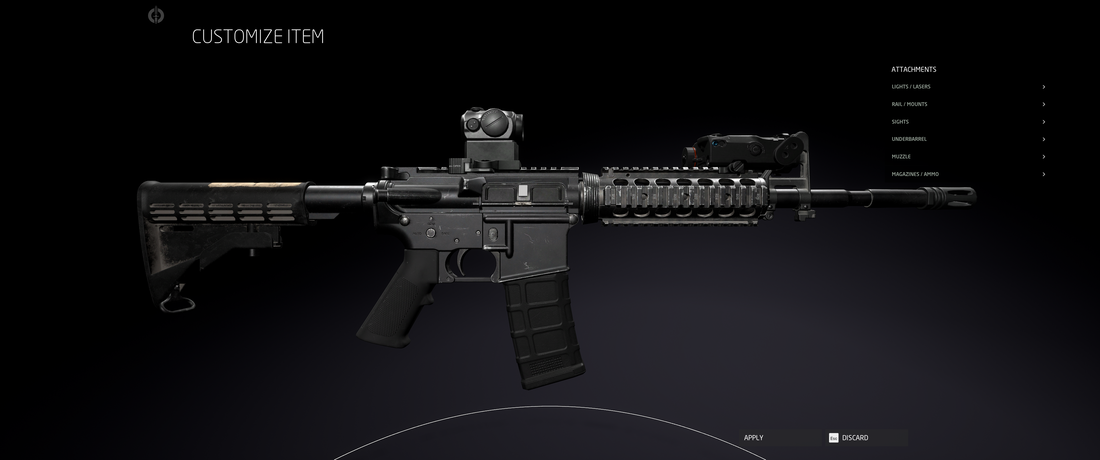
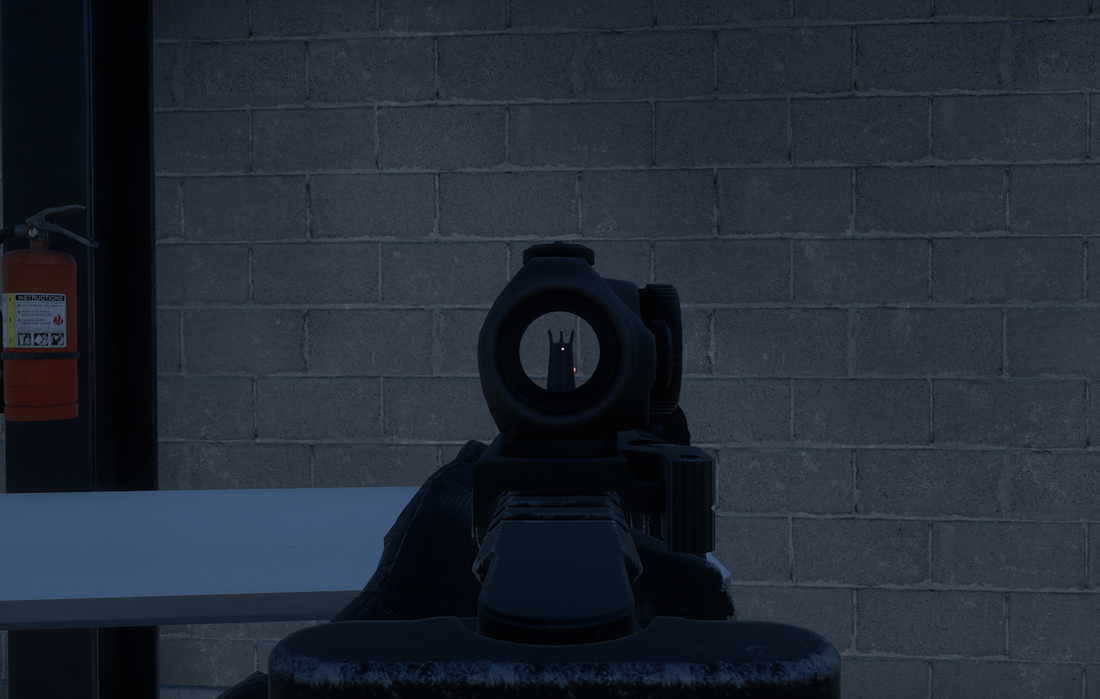
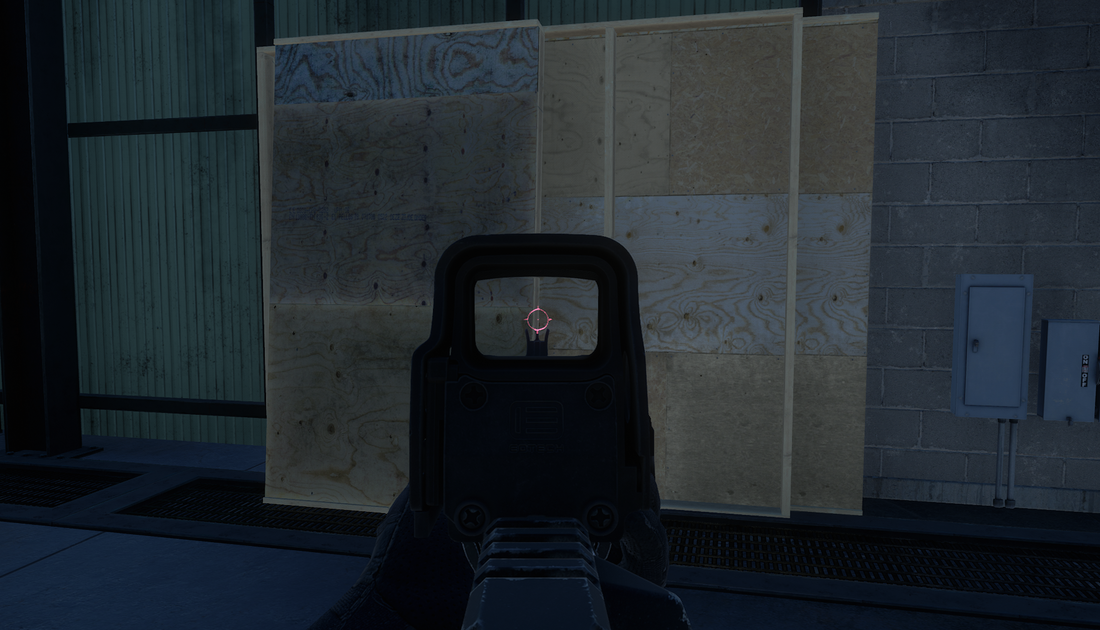
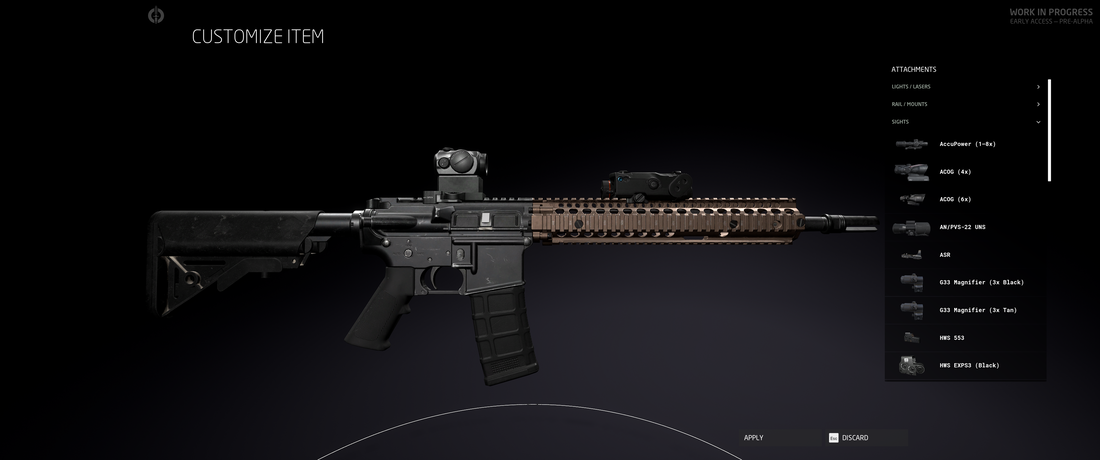
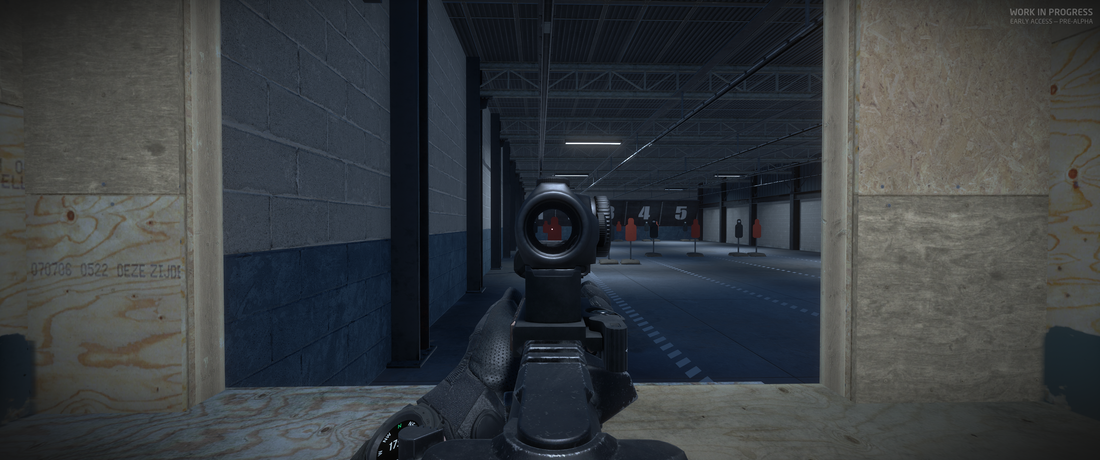
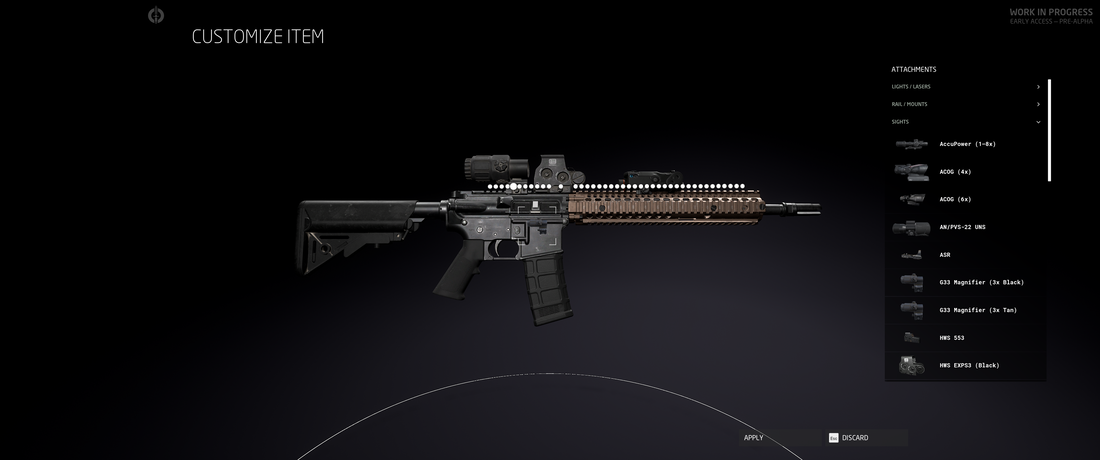
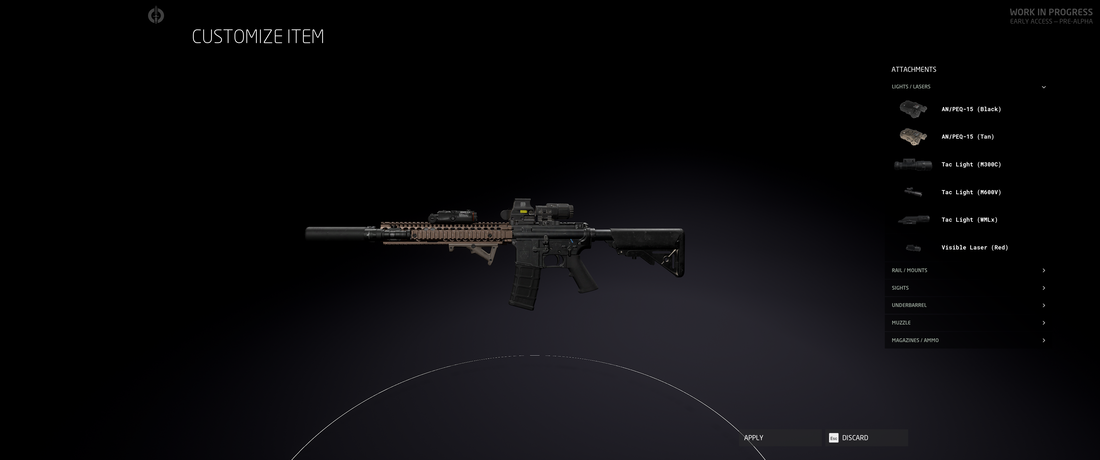
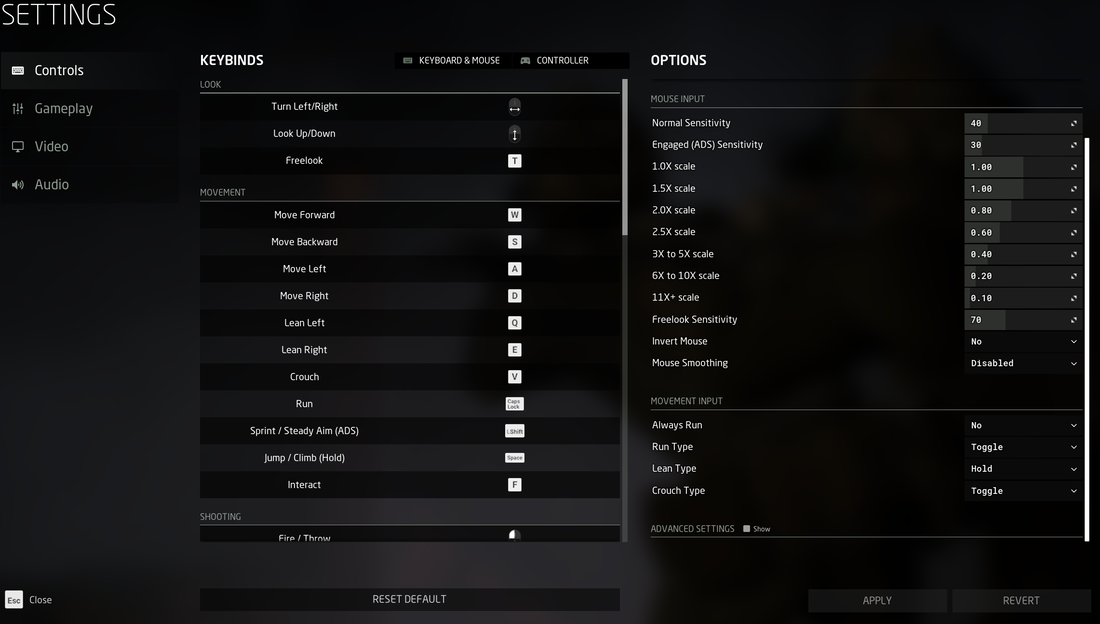
In 1032 each category is separately saved to their own load out kits. For example, I may save Kit 2 as "Tan" and save kit 3 as "Desert Night". I then may choose to load Kit 2 from my Gear Kit but load a completely different kit for Outfit. This can be confusing at first- just remember each column is considered a separate entity and should be managed as such. Let's Talk About GearGear is the backbone of kitting out your operator and Ground Branch lets you bring as much ordinance as you can fit on your chest and belt. There are 2 possible customization choices: Color (in the upper right corner) and attachments (the gear in the lower right). The attachment menu brings up a list of accessories to equip to said item. To select an attachment, expand the ACCESSORIES menu and click the desired equipment. You can then drag it out of the menu into the negative space and a map of white dots will appear to tell you where the accessory can be equipped. Here, I have selected the Headset. Since the headset only goes over the ears I have 1 "slot" to attach to. Dragging it here equips the headset as seen below. To remove any attachment, simply click and drag it off to the side and to rotate any item simply hold right click and drag your mouse. Anytime you customize an item and click apply the game will automatically request you save it so be sure to use a naming scheme you can keep track of. Next up are platforms. Upon loading a platform there will be default attachments already equipped. Mousing over each item will tell you what they are. To rotate any item simply hold right click and drag your mouse. This is useful for the carriers since they have multiple attachment points that surround the harness. Ground Branch allows you to select from the following: ammunition, grenades, and equipment. As before, any time you click an accessory you can see a field of attachment slots on the platform. Here we have selected a primary magazine and will drop it on the front. Notice that the primary ammo has a total of 10 mounting positions. Smaller items like secondary ammo and grenades have more attachments slots, while larger items such as breaching charges can only be attached to a small number of fields. See the gallery below for examples For colors, each item has a swatch based system that will allow you to select from various colors available. Simply select the equipment, click the color triangle, and choose from the options. Here's an example below: Once you are satisfied with your selection, it's time to save your operator. At the top of each column is a save feature. Saving the Gear column will save all the gear selected at the moment to 1 kit. Same goes for saving the Outfit. When I select my HRT save for Gear and Outfit, they are quickly loaded as seen below: The Weapons BenchNext we will move onto the weapon customization which is the biggest feature of Ground Branch. For the sake of our first weapon we'll stick with a carbine, in this instance the M4A1 SOPMOD. Select the weapon which will drop you back into the customize operator menu. From there, select the customization cog to bring up the bench. The default SOPMOD comes equipped with a raised Micro T-1 and a black AN-PEQ-15 laser. Similar to the Gear Customization we covered earlier, weapon customization allows you to drag and drop attachments where space is available. It's important to understand how this works: in order to equip attachments there must be a mounting system in place for said attachment. For example, here we can see on the M4 there are 4 rails, or RIS, mounted around the handguard of the rifle. There is also a rail mounted where the carrying stock is normally found on the M4. Because of these rails, we are allowed to attach our Micro T-1 and our PEQ laser respectively. Keep this in mind as we go forward and note that some weapons by default do not have rails BUT will have the option for rail adapters (such as the mp5a5). First let's strip off the raised Micro T-1 by drag and dropping it off and replace it at the same spot with a standard Micro T-1. Notice how the laser being mounted on the top rail obscures the visibility from the red dot and prevents us from applying the configured attachments to the gun. 1 way to alleviate this is to move the laser to a side rail. Let's move our laser to the side rail and have a look at the outcome: Notice how the forward ironsight is completely obstructing the view of the T-1 Red Dot and the PEQ Laser. Also, take note that the laser mounted on the side has shifted the dot to the right. Let's fix this by swapping out the T-1 for a more suitable attachment, the EOTECH HWS EXPS3 (black). We can see here the visibility is much wider and the iron only takes up the bottom of the sight. But what happens if we raise the sight a little higher? Let's grab a riser from the rails section and plop it where the sight currently sits. We'll then re attach our EXPS3 and fire a bullet. See the results below: Notice that with the EXPS3 raised so high we are actually shooting lower than our reticle. Keep this in mind for modifying weapons! So, we want the rails that the SOPMOD offers but we don't want to see the front irons. Cancel the customization of your M4A1 SOPMOD and select the M4A1 Block II. The Block 2 has a longer rail handguard and no front iron sight which greatly improves visibility. But what if we're going to be operating in a large outdoor environment with some CQB building clears? That's where magnifiers, micro attachments, and offset rails come in. First, let's remove the raised T-1 and attach an Acog 4X. After attaching the ACOG we have 2 options available. For the first option I will attach a RMR flat mount to the top of the ACOG. For the 2nd option we will attach an offset rail to the top RIS and attach a RMR low rail to the offset rail. A third option is to use a magnifier that can be flipped when needed. Below I have attached a G33 before the EXPS3 on the top rail. And with it I have the option to toggle my magnification as needed. Ok so now that we have a basic understanding of the weapons system, I want you to build the following: M4A1 Block 2 with an EXPS3, G33, suppressor, Tac light on your left rail, PEQ on top rail, and angled grip on your bottom rail. It should look something like this: Congratulations, you have just customized your first gun in Ground Branch! Remember that you can customize most firearms and sidearms so I encourage you to experiment to find the best loadout for you. Basic TrainingMOVEMENT There are 3 movement speeds in Ground Branch as of 1032: Walk, Run, and Sprint. In the settings menu for controls you have the option to set them to toggle or Hold. Note that the controls in here are customized to my liking and will not reflect your defaults.
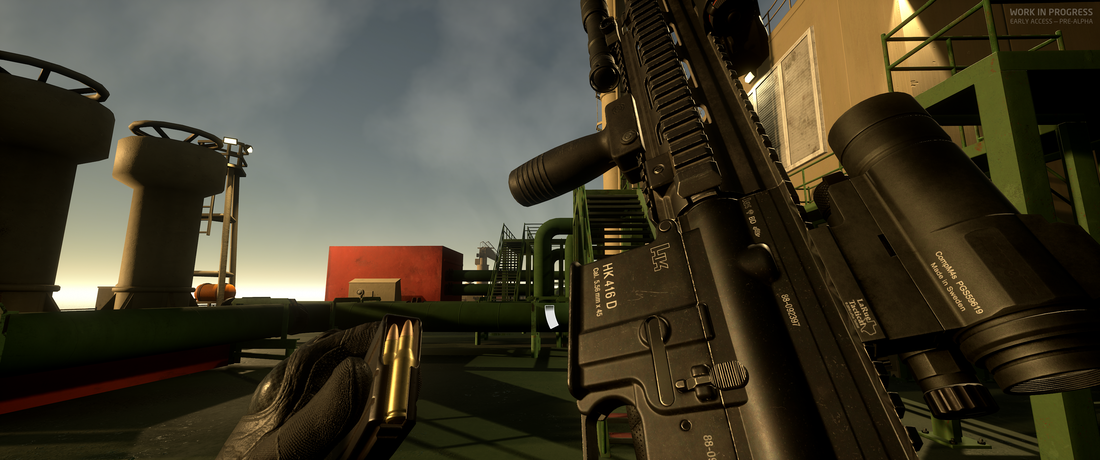
You can also lean right and left to peek around walls to conceal part of your body. While wielding your weapon you can choose to handle your weapon in 4 ways: High, Low, Ready and Aiming Down Sights. High and Low ready are used to rest your arms and prevent flagging or aiming your gun towards an ally. Ready stance allows you to point shoot without using a sight. Aiming down sights allows you to further steady your weapon to achieve accuracy over large distances. While aiming down sights you can hold the sprint button to further steady your aim. While holding your breath, your screen will vignette and your reticle will be rock solid during this time. Do note that eventually your operator will gasp and the aim will return to normal. The need to rest your arms is seen when trying to aim down sights. If you've been ready for a while (or ADS) you will notice that your reticle tends to "jump" around. Even more so when taking shots. That's why it's important to rest in low/high while not engaging. Practice flipping between all 3 stances (default mouse wheel Up/Down) while moving. The more natural it becomes the easier you'll be able to re-engage threats in an OP. Jumping (default spacebar) is useful for getting over some objects and climbing others. New to 1032 is an animated vault system which will allow you to clear knee high and some chest high walls. To perform a successful vault you must hold the jump button (default "spacebar") to complete the vault. Otherwise your character will simply fail to complete it. It's a bit buggy still so some surfaces may not work consistently. Finally there's the action key (default "F") which can be used to interact with objects in the environment. Doors, ladders, power breakers, and garage switches are just some of the functional pieces in game. RELOADING Ground Branch offers 3 functions with the reload button (default "R"):
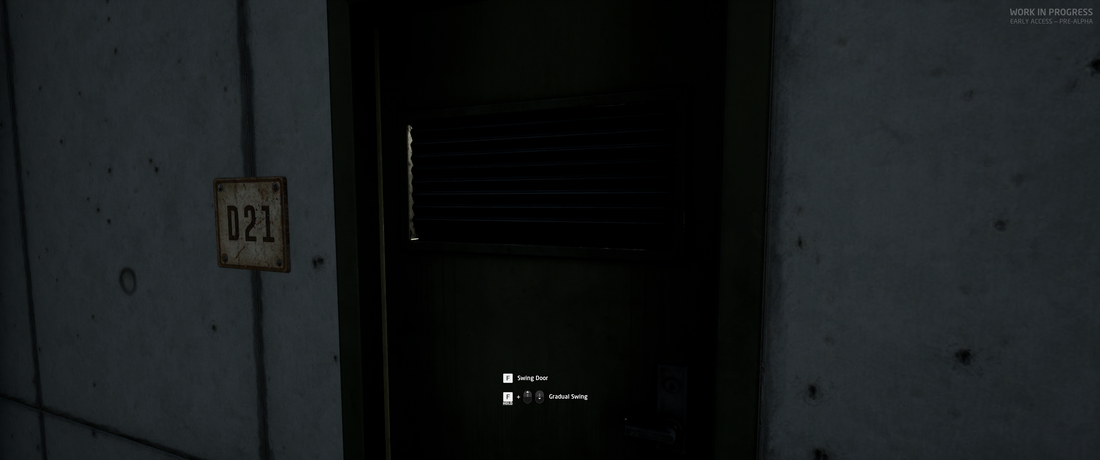
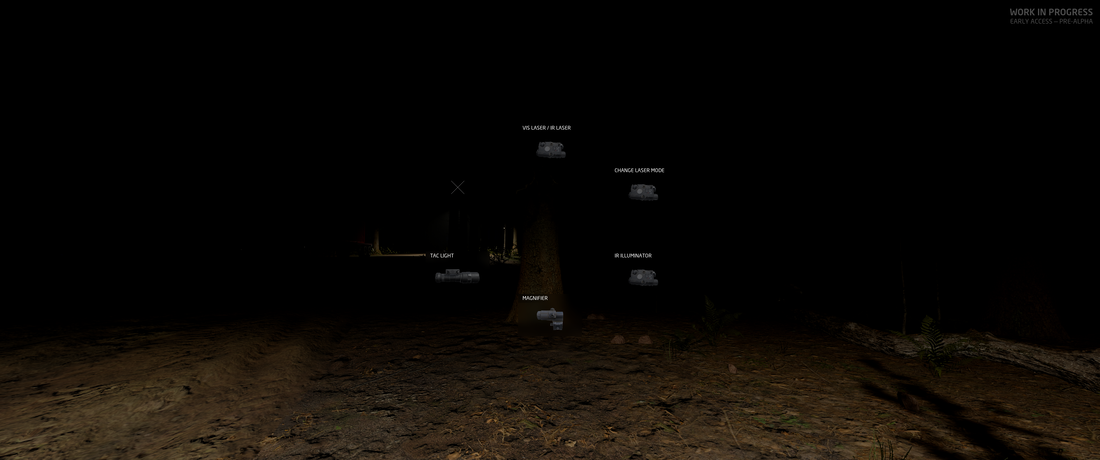
You can also toggle the default reload option in the settings menu under controls. Using Doors and Environmental Objects Doors, like Rainbow Six Raven Shield, have the ability to be opened immediately or gradually. The main benefit of gradual door opening is the ability to toss a flash or other grenade into the room without fully exposing your body. You can also quietly shut doors or open them to prevent alerting enemy players of your presence. The controls are demonstrated below: Using Attachments and Equipment Mastering control over your equipment will be the difference between losing and winning some engagements. Earlier we attached a laser and a flashlight to our rifle as well as a magnifier. Let's practice those options.
You can access your attachments from the attachment wheel as well (default Middle Mouse click) Often times using a flashlight is an easy way to check your surroundings in night ops (and a quick way to disorient your opponent if they are stalking with NVGs on). It may also be preferable indoors if some rooms have lights and some don't as trying to switch between nods on and off in an engagement is frustrating and wastes precious seconds that could mean your life.
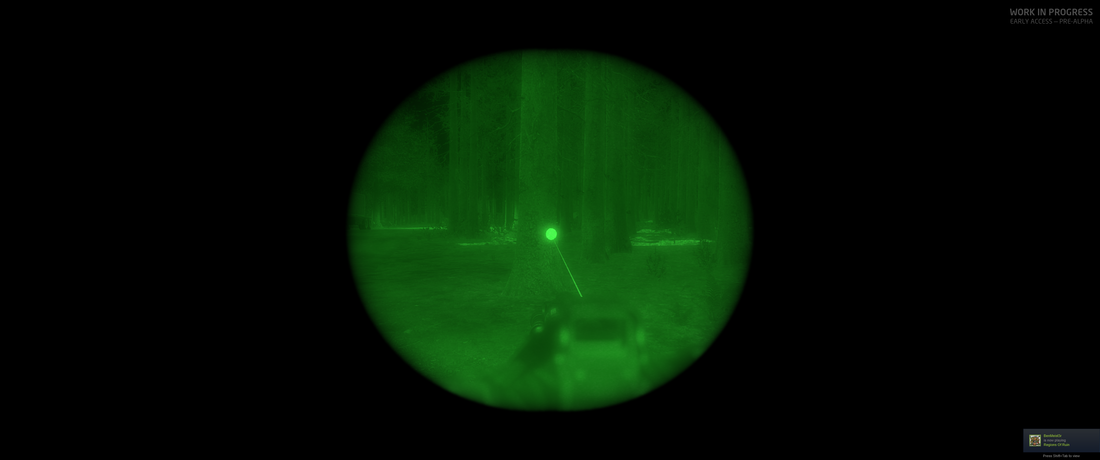
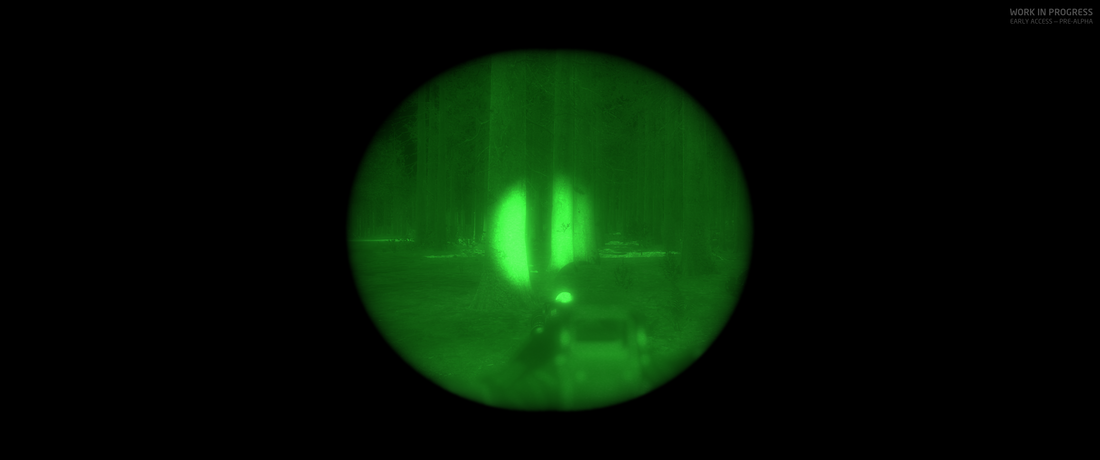
Just like you can with flashlights, double tapping will keep a laser active. However, an additional feature with the PEQ is the option to toggle the laser to infrared (default 7). Doing so will render your laser in the infrared spectrum which can only be seen with IR optics. This is useful to confirm you won't accidentally shoot a teammate or to coordinate positions in the dark. The PEQ also allows you to use an IR illuminator, a similar function to a flashlight but in IR. Compare the two pictures below: IR spectrum equipment like lasers and illuminators are incredibly versatile tools to be using while cooping with your buddies. Remember you can easily toggle the IR laser with 7 so if you need a visible laser again it's a tap away.
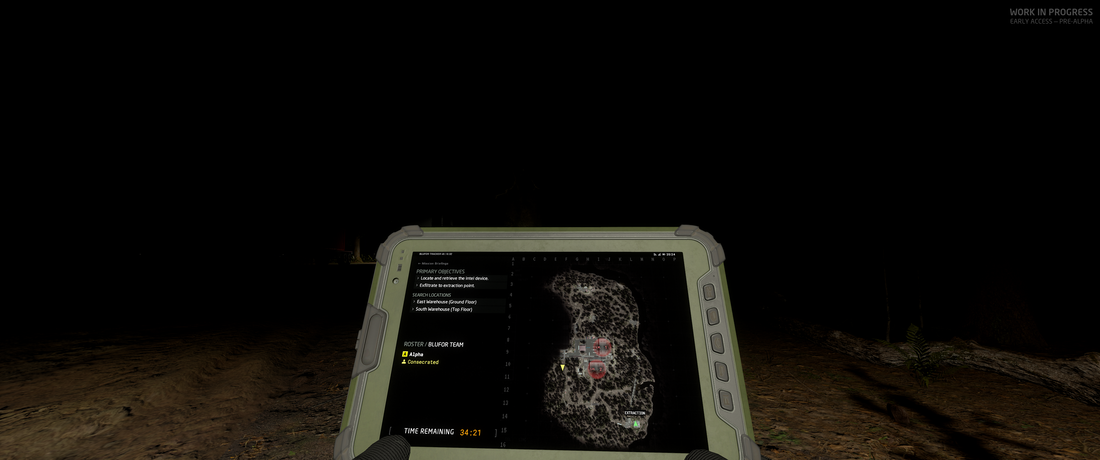
The tablet is a new feature in 1032 and is in its earliest stages of development. For now, the tablet lists out your objectives, the fireteams and their members, the time remaining for the operation, and a minimap. Use the tablet in multiplayer to assist your teammates with communication and to prepare for approaching the objective.
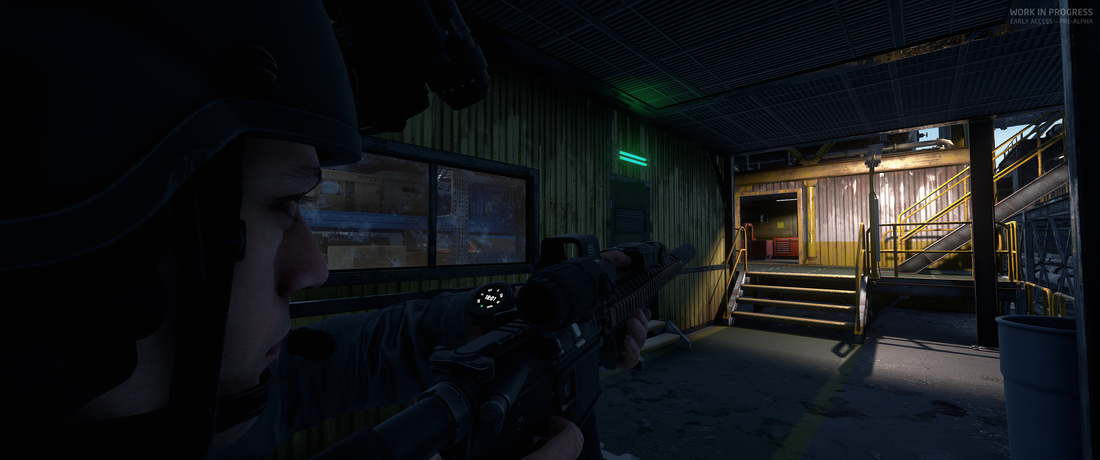
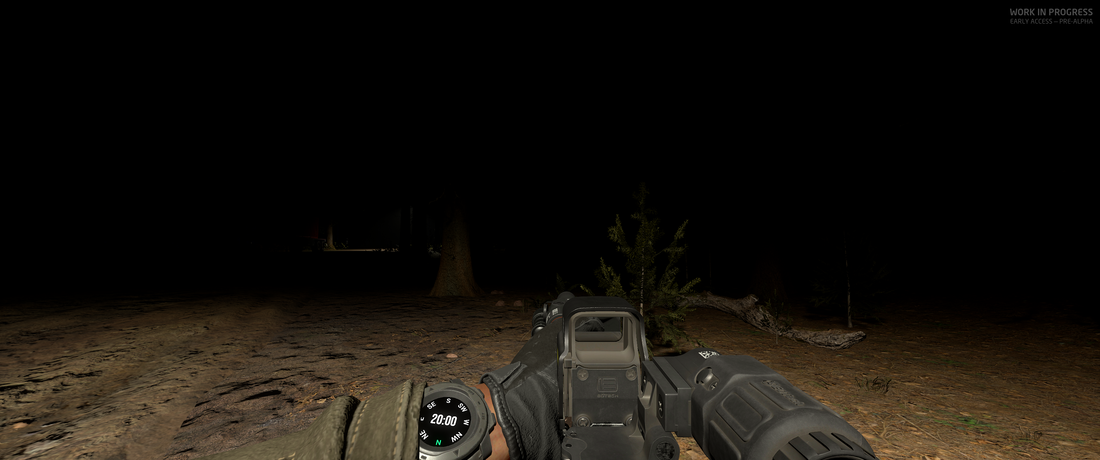
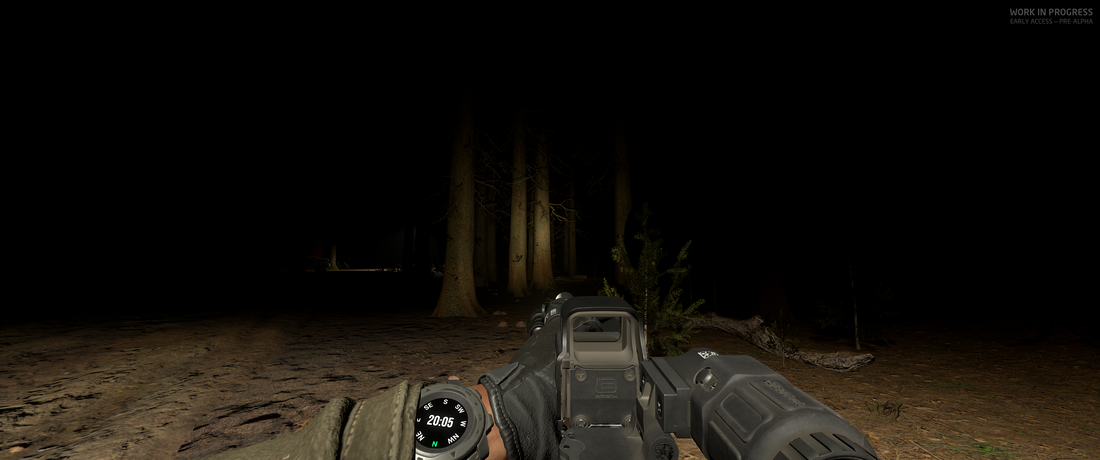
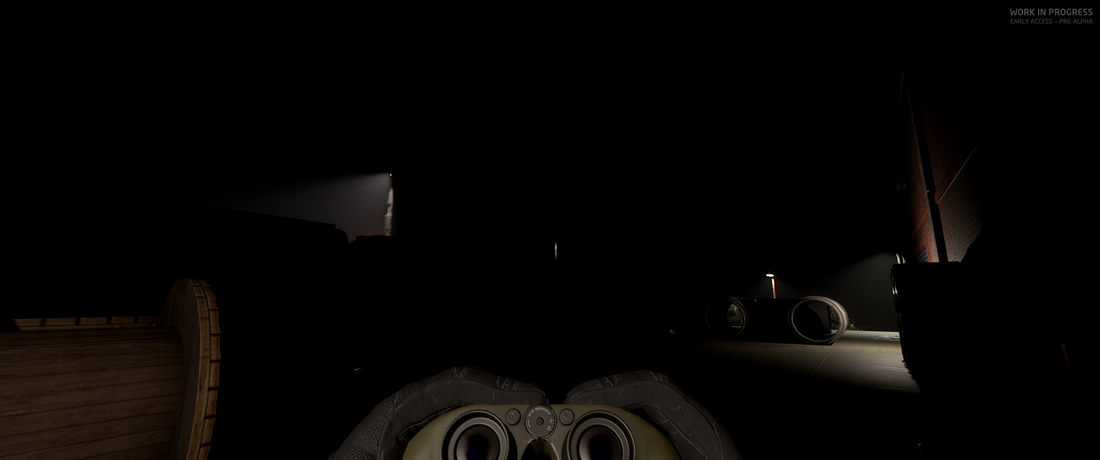
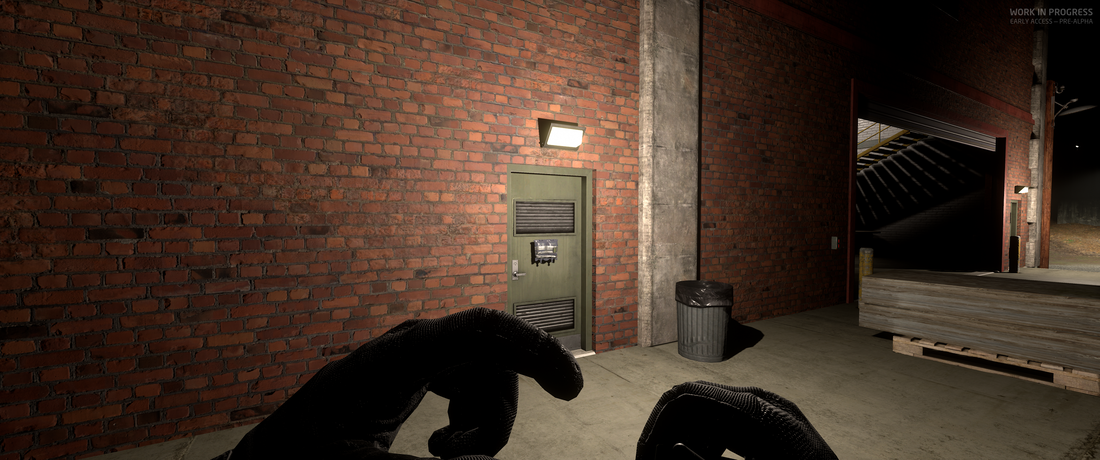
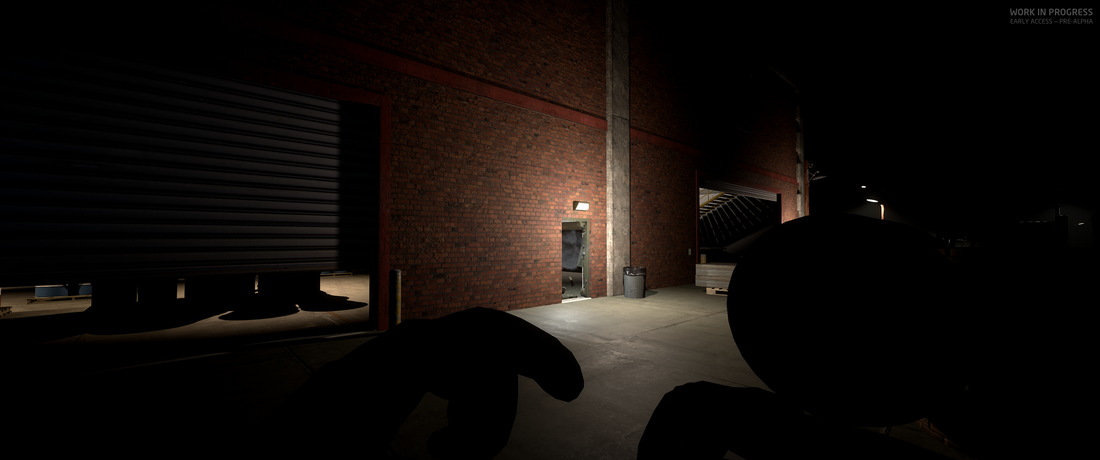
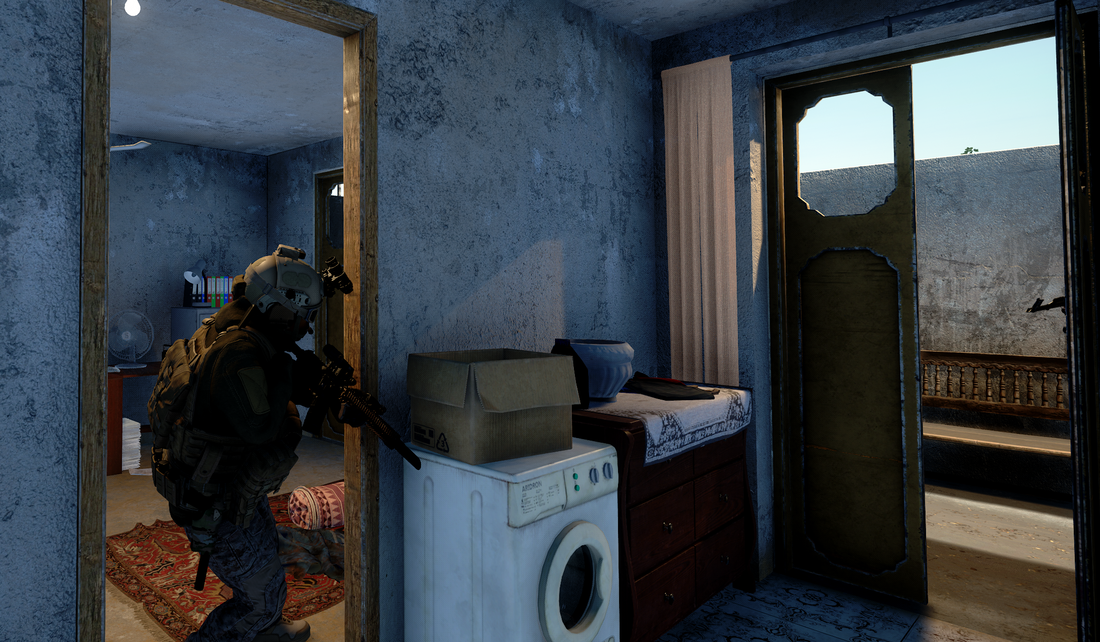
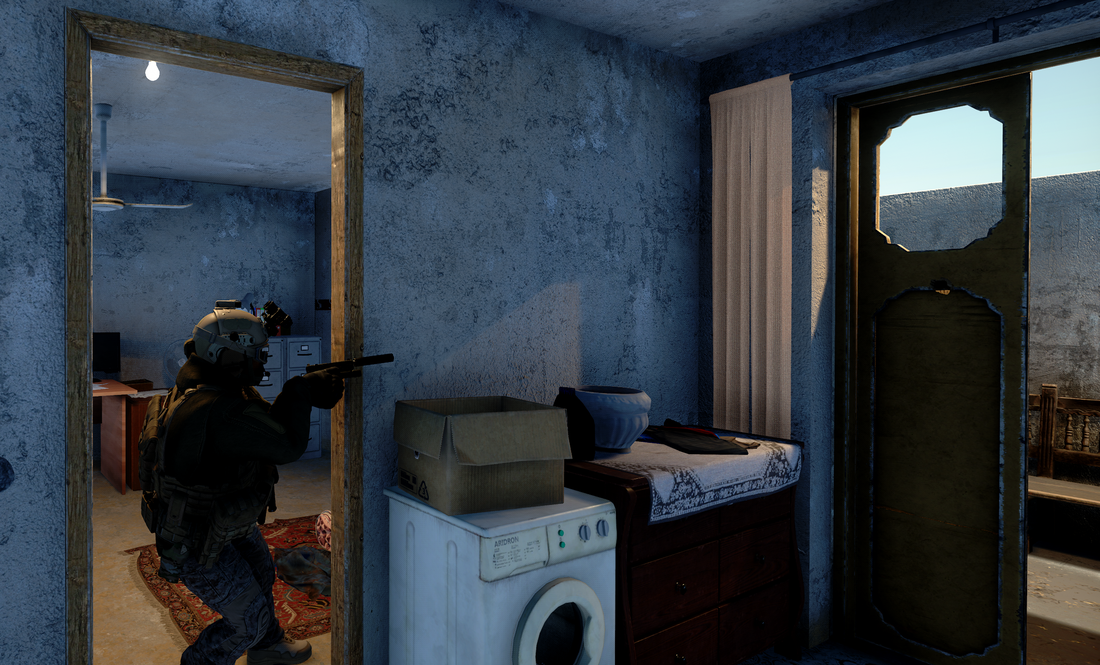
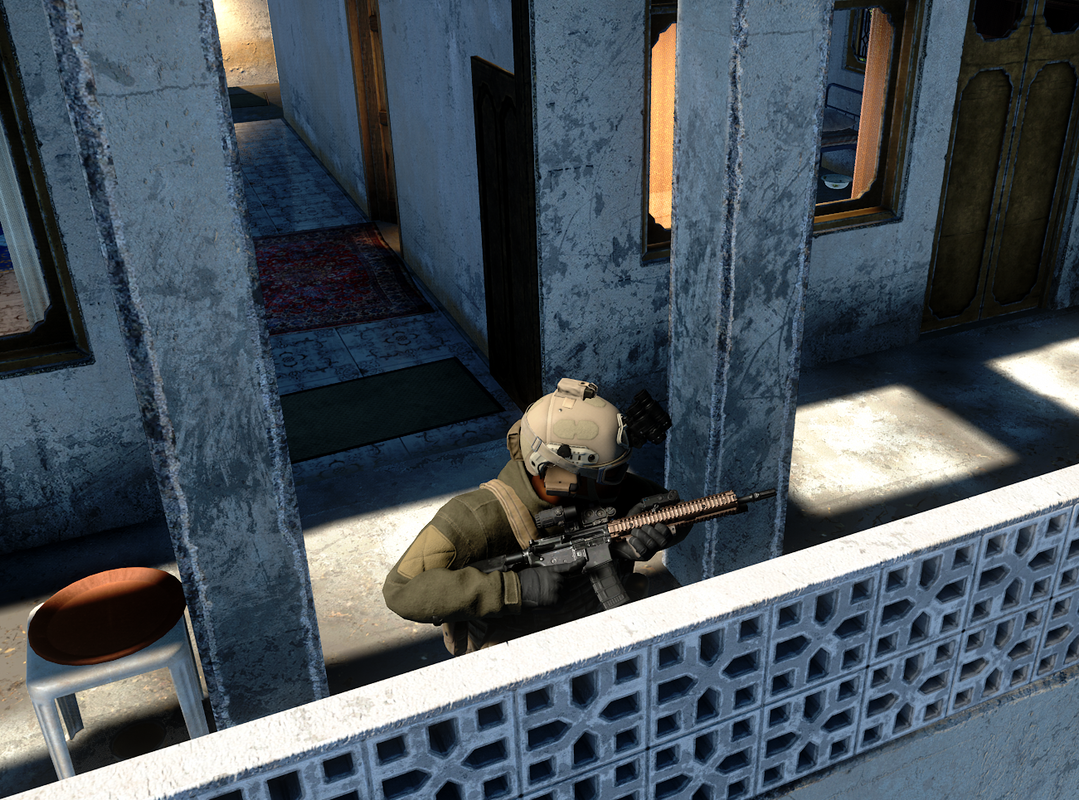
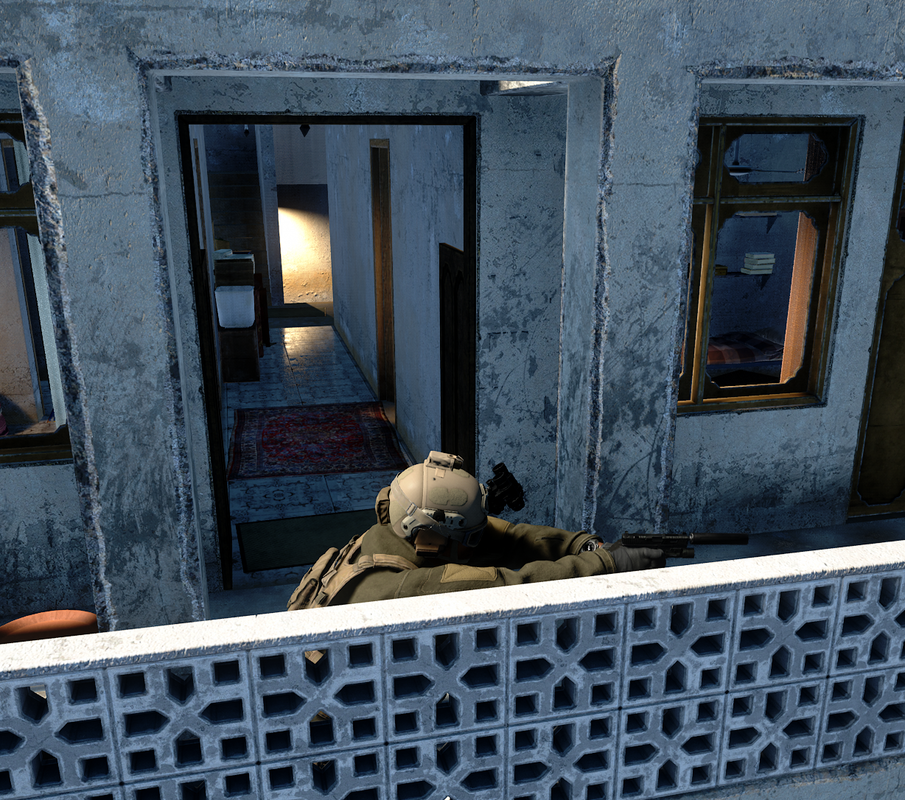
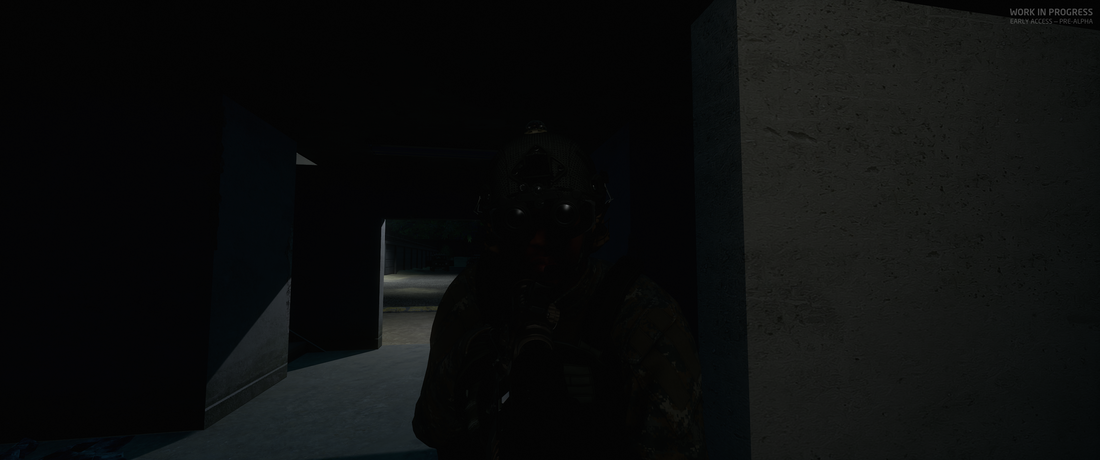
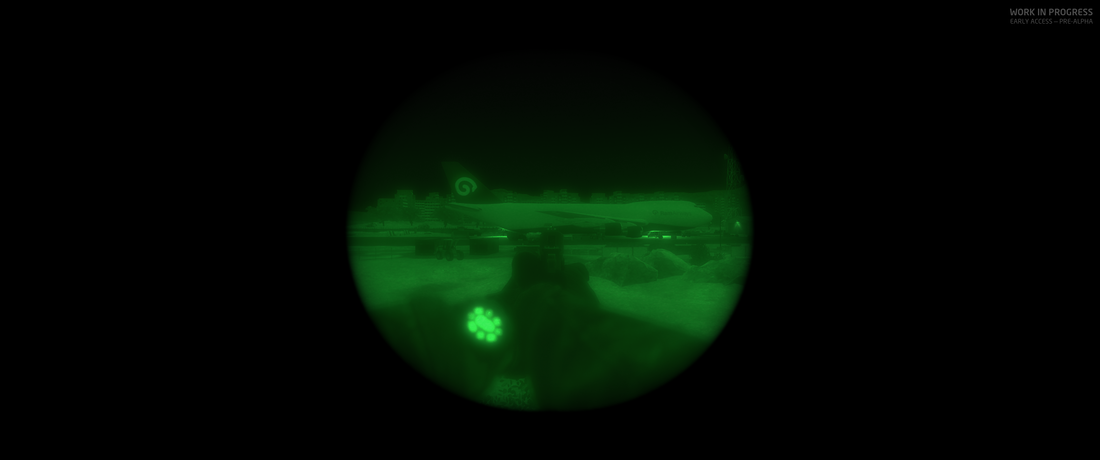
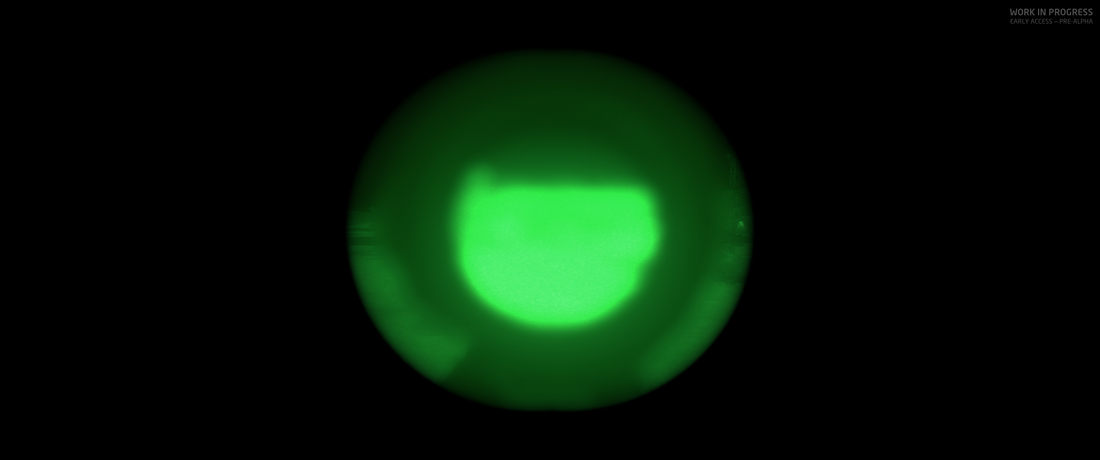
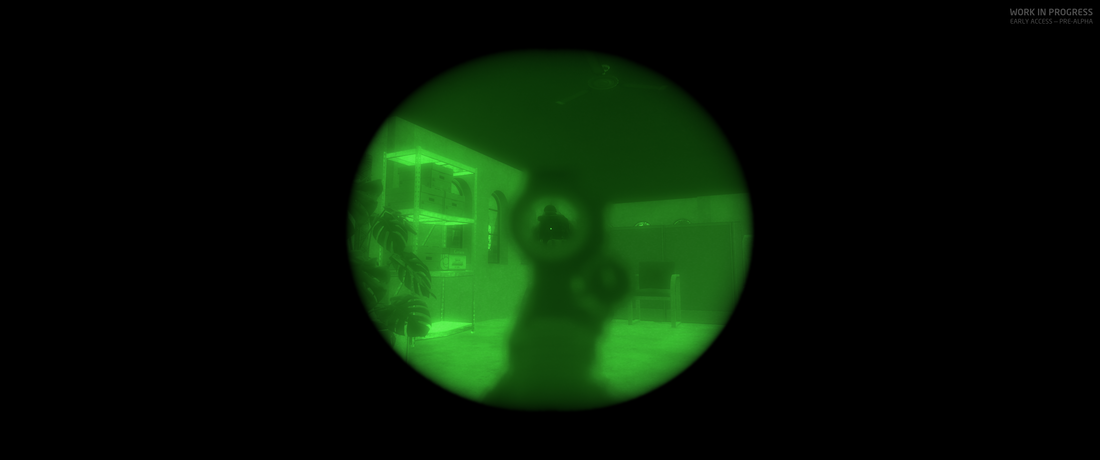
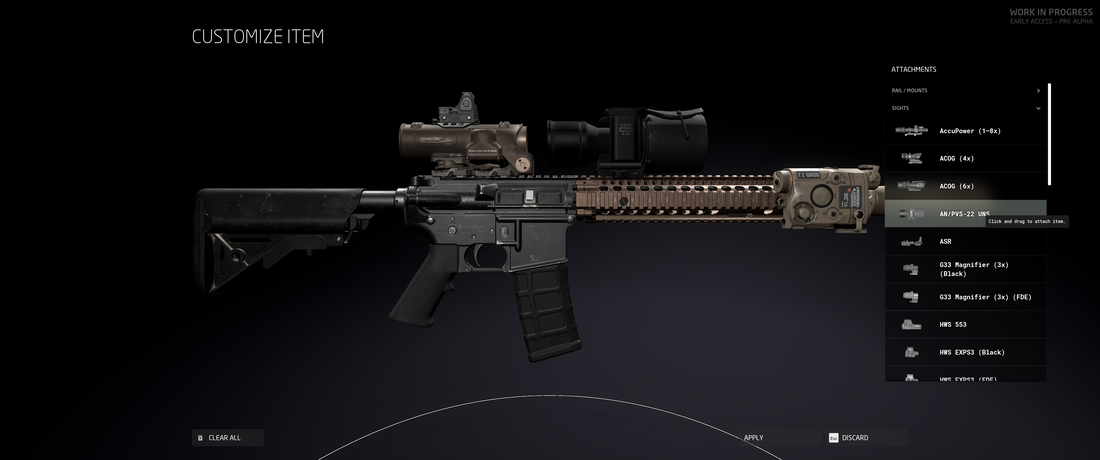
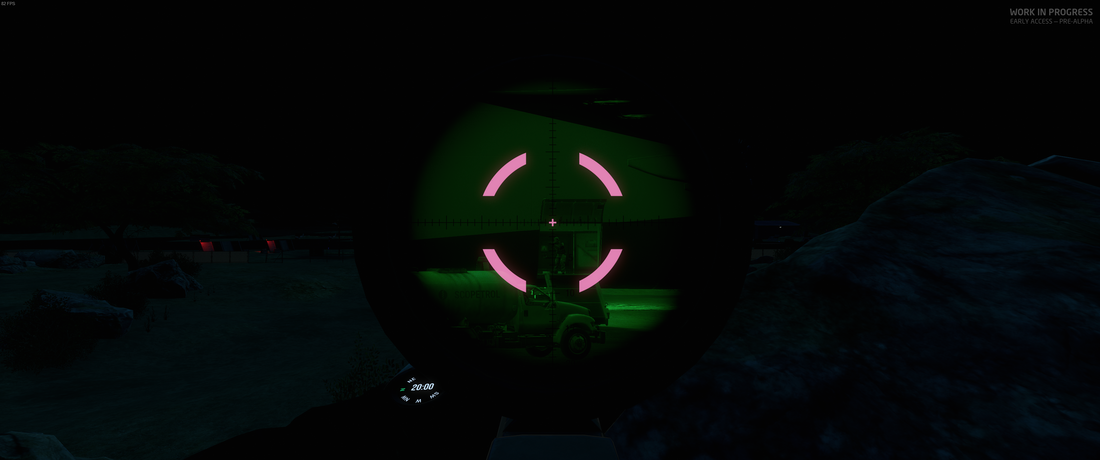
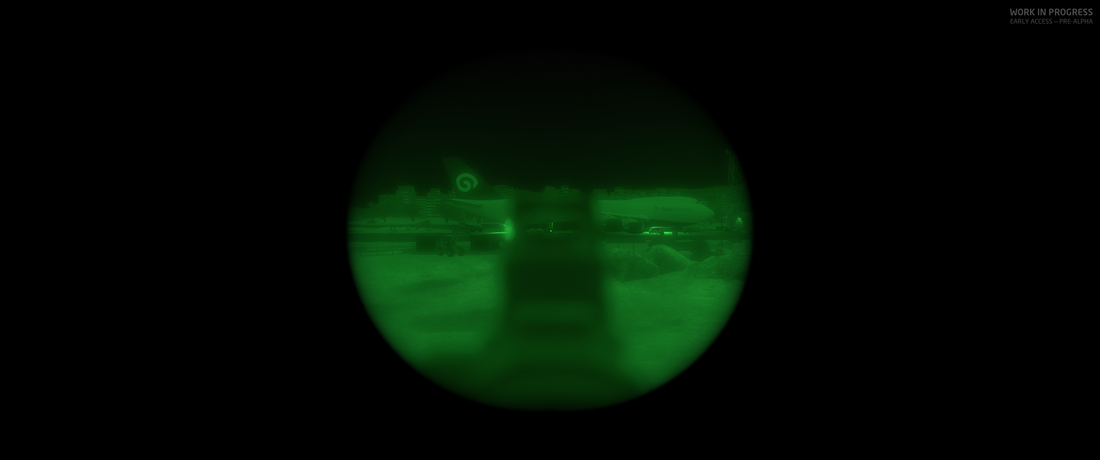
Do note that using the breaching charge in close proximity will affect you as well. When using weapon attachments, such as additional sights, you can toggle between them using the mouse wheel up/down during ADS. To toggle the zoom attachments, use ALT + mouse wheel. This includes flipping your magnifier as well as changing zoom when using a high powered modular optic. The last equipment to mention are grenades. Fragmentation, smokes, and flash bangs must be equipped prior to use (default 3). Like other FPS you can cook your fragmentation grenades. Weapon CollisionNew to 1032 is Ground Branch's weapon collision system. While it's still early in concept, the collision system hopes to prevent your weapons from clipping through the game world to give you an advantage in engagements. Blackfoot Studios are actively listening to feedback and tweaking this system but already it's very engaging and changes how you interact with the environment. For example, below I spotted a tango in one of the buildings on compound. as I lean out with my M4 at ready the stack of boxes prevents me from raising my rifle. However, if we equip our sidearm we are able to successfully raise our weapon and return fire. The same issue with collision can happen when rounding tight stairwells. Here my weapon is lowered as I hit the landing. Being in a vulnerable state at any point in Ground Branch usually results in death. Here we can see how removing the suppressor would allow me to keep my weapon ready and raised. Chest proximity is also calculated and can prevent you from readying your rifle. Here I spotted a target across the street but I can't take the shot. Once again swapping to my sidearm allows me to aim and fire. While a 9mm bullet may not kill on impact, it will at least provide you an option to defend yourself in a firefight. Proximity collision is an exciting inclusion to the tactical FPS genre and one that elevates Ground Branch beyond its peers. Experiment with the various weapons to find the best choice for the job. Night OperationsLast but not least I'll briefly go over night operations. As it stands now with 1032 AI are not impacted by time of day. That doesn't mean you can't play it though! Night vision is handled unlike any other game out there and it takes a bit of learning to understand how it works. When using night vision goggles (default "N") your fov slims down and your view is washed with the familiar green hue. However, unlike other games, definition is almost immediately impacted when using nvgs. You'll have a harder time making out objects in range while blurring out near objects such as ironsights. This is where using red dots becomes useful (and where the problem most players run into with magnified optics). As you can see, trying to aim with a magnified optic while using NVGs will immediately refract light back rendering the optic useless. So how do you aim down the sight while using nods? First, you can use any non magnified red dot optic or ironsight available with nods: Or, if magnified optics are required, you can use the AN/PVS-22 sight. To use this sight, simply place it in front of the desired optic on a rail like so: Having the universal night sight attached opens up your options for engaging opponents. You can flip your nods up and use the sights for outdoor engagements. One of my favorite set ups is the M4A1 Block II from above. With the Specter sight I can flip between 1-4x magnification. If I have my NVGs down and someone quickly rounds the corner I can flip to my back up RMR sight mounted on top to quickly engage the enemy. So as you can see, operating at night comes with its own strengths and weaknesses. Make sure to communicate often with your team (and make use of the IR lights and illuminator as mentioned above) to coordinate and execute with no friendly fire. And remember, flashlights are always a viable option in buildings where one room is dark but the other may be lit like Rundown. Wrapping UpAnd that's all folks! You are now fully equipped to begin playing Ground Branch. Special thanks goes to Prowlaz & MrBombastic over on the discord for providing feedback and additional information. You too can help me make this better by leaving a comment below. For the latest information please check out www.groundbranch.com/, their roadmap, and their FAQ. I also recommend checking out this excellent Night Operations tutorial by Skillet Hope to see you in game soon, Consecrated2718
2 Comments
Roy
3/15/2022 03:47:03 am
Thanks for this! I like this game. But I have zero knowledge of weapon mods. So customizing a weapon to something useful for me is quite tidious as I need to go back and forth from workbench to shooting range.
Reply
Leave a Reply. |
Archives
December 2021
|
 RSS Feed
